The garage can be known for many things. However it is pretty rare that a garage would be known for having an amazing floor. Most garages are dirty, smelly, and they often have oil/grease spots all over them. However there are some homeowners that choose to revamp the look of their garage and they typically start with the floor.
There are many different options available for garage flooring but we think we have the best application on the market. Our vinyl chip epoxy floor is cost effective, long lasting, easily cleaned, and comes in a variety of colors. While there are several "epoxy floor kits" available from home improvement stores, none of these kits will compare to ours.
Our flooring is installed with commercial grade, non-diluted, Stone Bond epoxy. Many of the DIY epoxy floor kits available in local home improvement stores are not commercial grade and their epoxy is water based. This leads to a weaker bond and and a much weaker epoxy.
Additionally, our chips come in a variety of colors and they are all 100% vinyl. By using vinyl chips, instead of paint chips, we are able to safeguard against color loss and prevent the long term degradation of the chips themselves.
Here is a quick look at a garage floor we recently completed in the Hickory NC area. If you would like more information regarding our epoxy chip floors or any of our other products, please contact us here or call 828-256-7915.
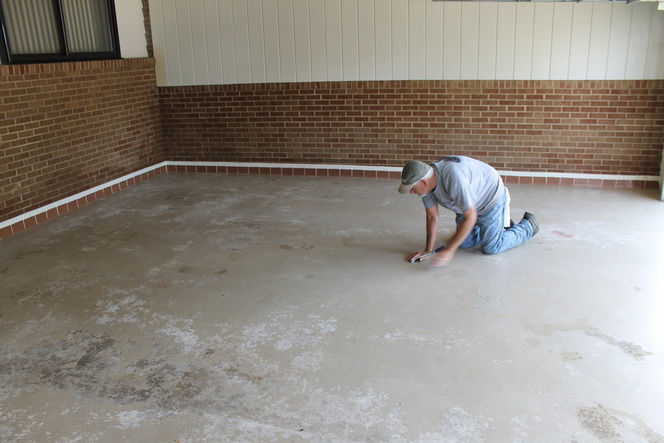
The garage floor has been power washed and now our team begins scraping the surface to remove any loose material.
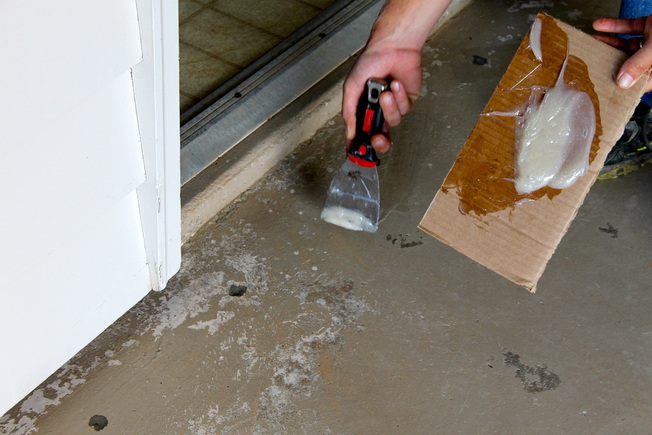
Any holes, cracks, or divots in the existing floor are covered and smoothed with epoxy. This ensures the imperfections do not transfer into the new chip floor.
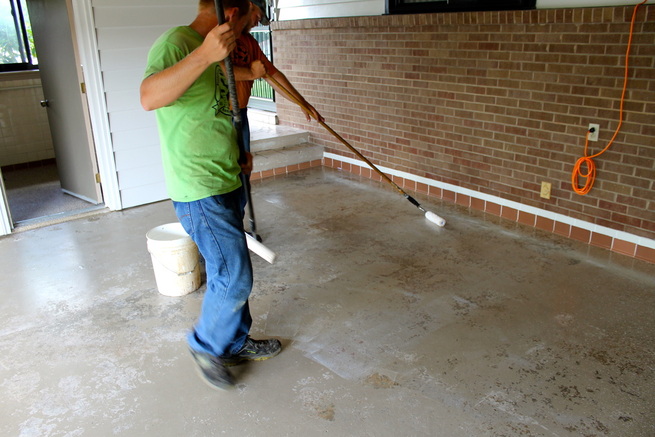
Stone Bond Epoxy is then rolled onto the garage floor. This is the base coat that will allow the vinyl chips to adhere to the concrete.

Next, vinyl chips are applied using a hopper gun. This ensures the floor is evenly covered with vinyl chips.
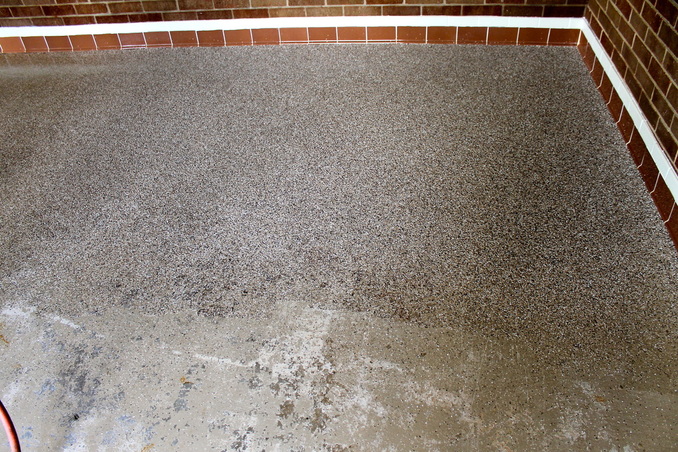
The garage floor overhaul is beginning to take shape!
Once the floor is completely covered in chips, we allow the epoxy to dry overnight.
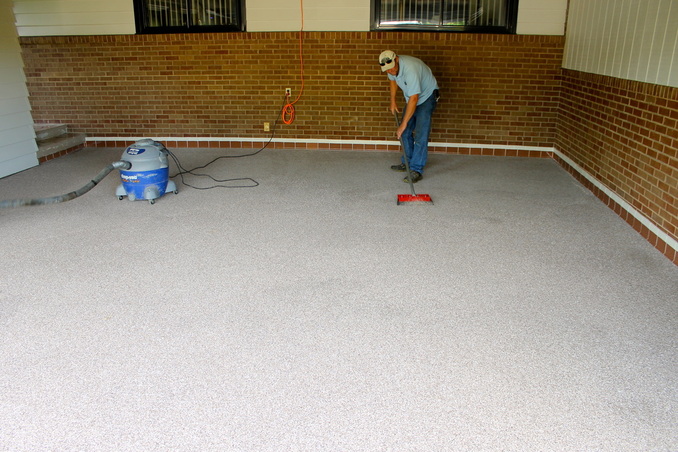
After the floor has dried, the chips are then scraped and the floor is vacuumed. Scraping will remove any loose chips and it will also keep the floor from having any sharp or obtuse spots. This leads to the final step...
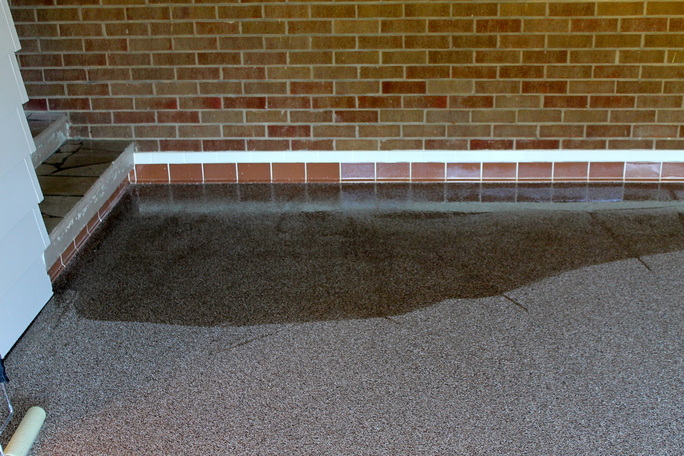
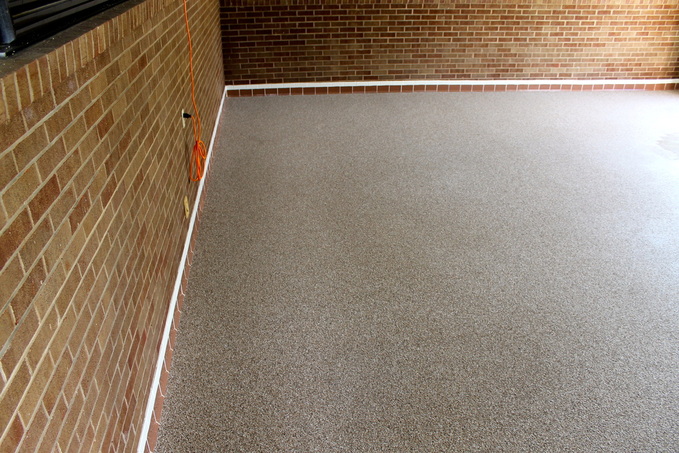
Last, we apply a top coat of Stone Bond epoxy. This top coat will add strength to the floor and it will also add a "wet" sheen.
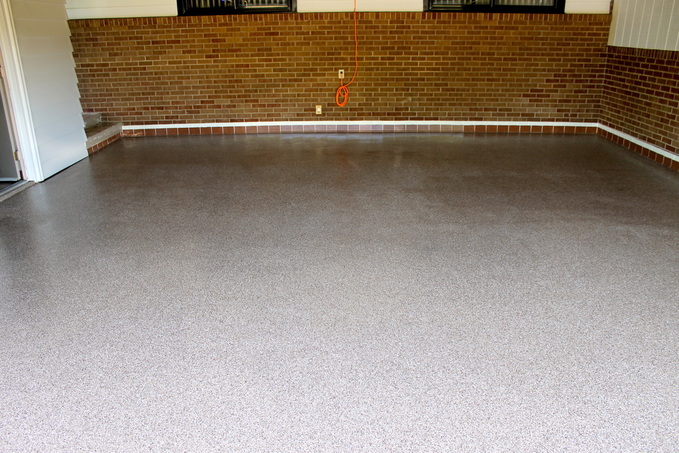
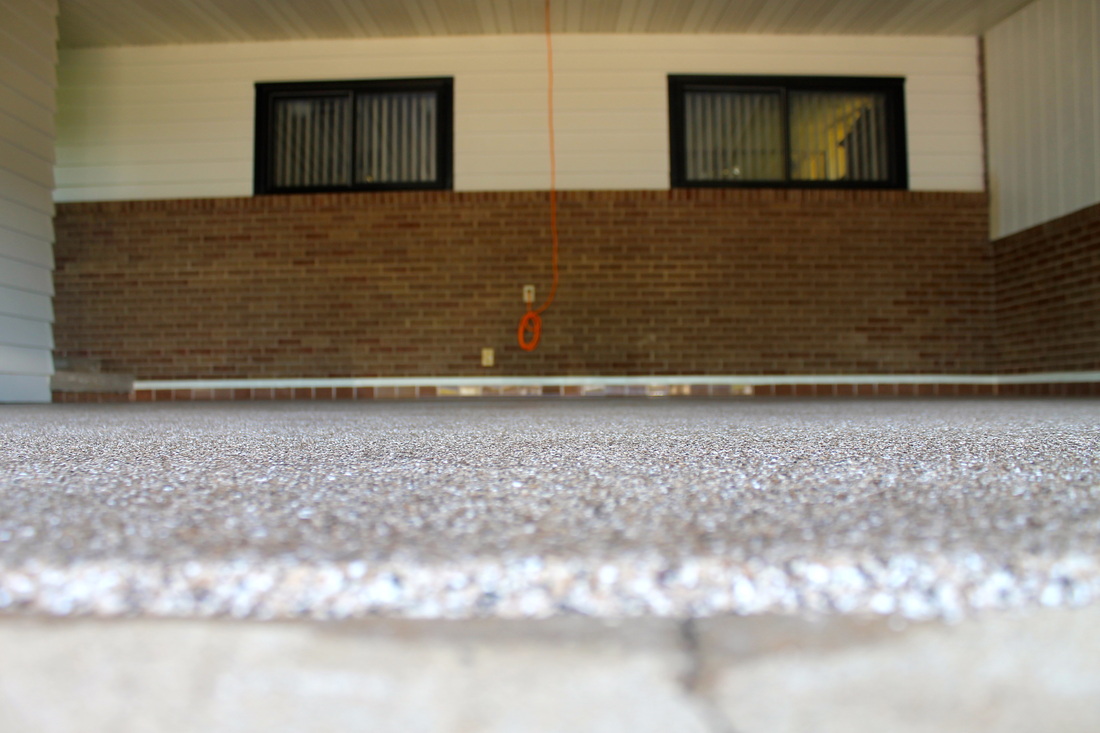
As you can see, the garage floor is smooth and 100% overhauled. You can have a floor just like this one in your garage. Call us today to schedule your free estimate!
 RSS Feed