Decorative concrete is a great option for pool decks, patio’s, porches, driveways, and sidewalks. While we are accustomed to the process involved in installing decorative concrete, many of our customers are very interested in how this installation is achieved.
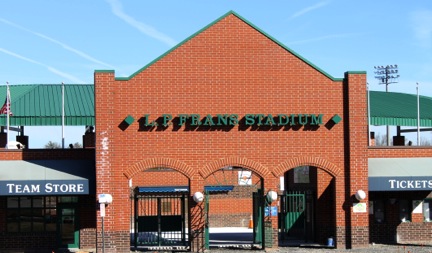
Our latest project was for the City of Hickory and the Hickory Crawdad’s baseball team. This project consisted of installing two new walkways and then stamping the concrete with an antique brick pattern.
Our latest project was for the City of Hickory and the Hickory Crawdad’s baseball team. This project consisted of installing two new walkways and then stamping the concrete with an antique brick pattern.
The first step in the installation of new concrete is to properly form the area. The standard pour depth for concrete is 4 inches.
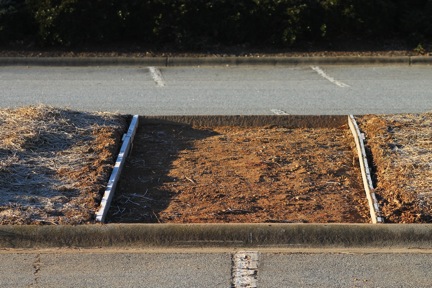
It is important that the surface is smooth and level. Uneven areas in the ground will require more concrete and thus, increase the cost of the installation.
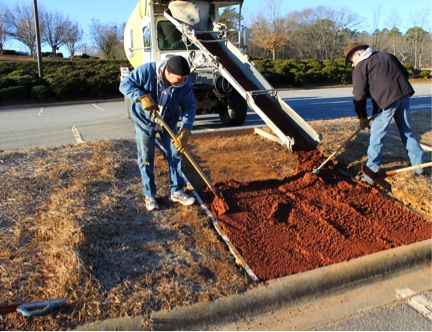
Once the area has been properly formed and graded the installation of new concrete can begin. We used a 3000-psi concrete with pea gravel for this project. Pea gravel is much easier to work with when stamping concrete.
For this pour we are using an integral color called brick red. Integral color is mixed into the concrete at the plant. This process allows for a more even color throughout the concrete.
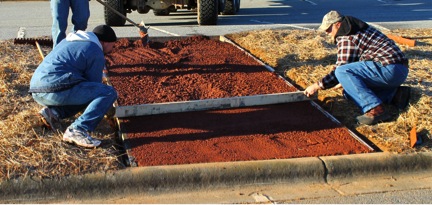
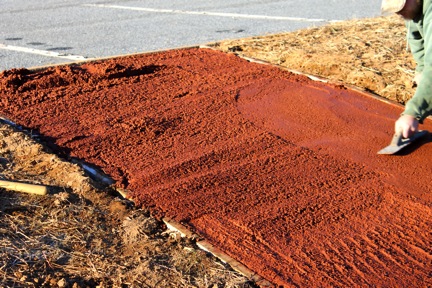
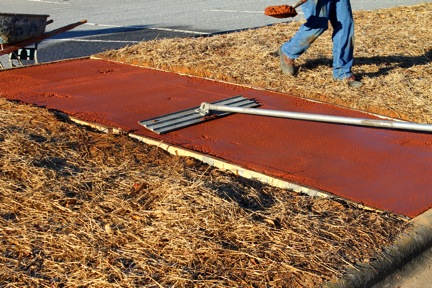
Concrete must be level. In order to achieve this a screed must be used. Screeding concrete will remove excess concrete from higher areas and help fill in lower areas.
Once the screeding process is completed it is time to begin troweling, floating, and edging the new pour. Floating is the process of smoothing the concrete and helping to remove moisture. As water evaporates from concrete it allows the concrete to firm up and brings us closer to being able to stamp.

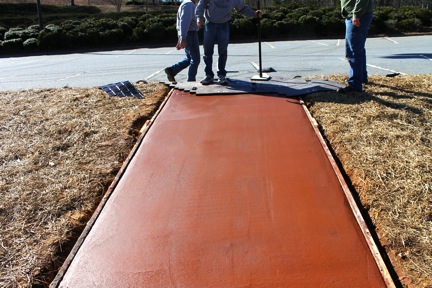
Once the concrete has been troweled, floated, and edged, the new concrete will look like this.
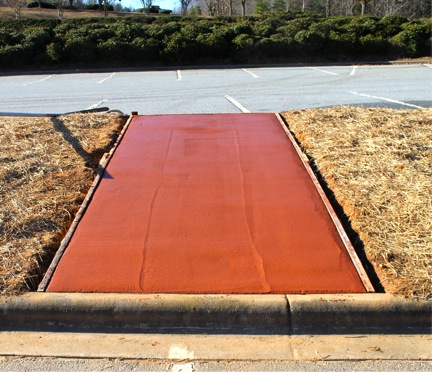
It is at this point that standard concrete would be either machine finished or broom finished. Decorative concrete adds several other steps.
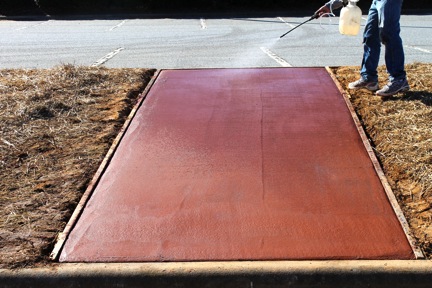
In order to properly stamp concrete the concrete must be firm enough to withstand the pressure of the stamps and the individual(s) standing on the new surface. However it must be wet enough for the impression to take into the concrete.
Before the stamping process begins we spray a release agent onto the concrete. This allows the rubber stamps to pull away without sticking to the concrete. This is very similar to spraying a pan with cooking spray prior to cooking.
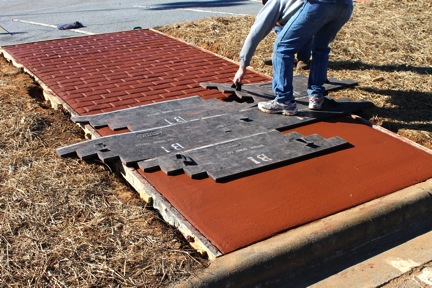
After the concrete has been prepared with the release agent the stamping process can begin.
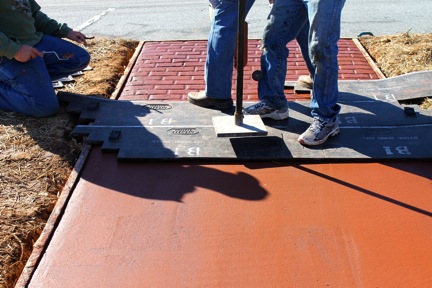
The rubber mats fit together to form a pattern. After the mats have been placed they are tamped down with a special tool. The tamping process transfers the pattern from the stamps into the concrete.
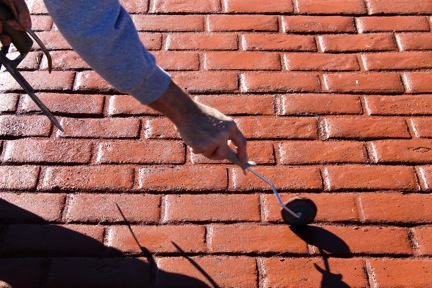
Specialty tools can be used to correct imperfections that might occur during mat transfer.
Once the concrete has been stamped we allow it to finish curing over night. Once the concrete has set we move to the finishing stages of the project. These final steps will include color washing and sealing the new concrete.
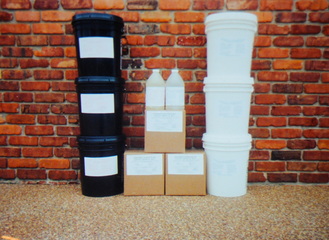
In order to give the new concrete a more natural look, we use a silicon based coloring agent.
In order to give the new concrete a more natural look, we use a silicon based coloring agent.
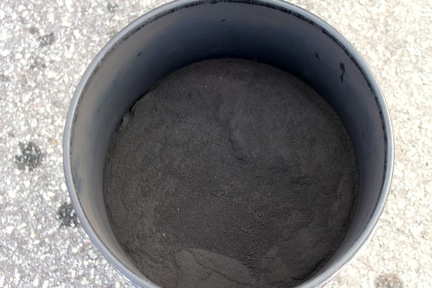
A small amount of this charcoal color is added to 5 gallons of water.
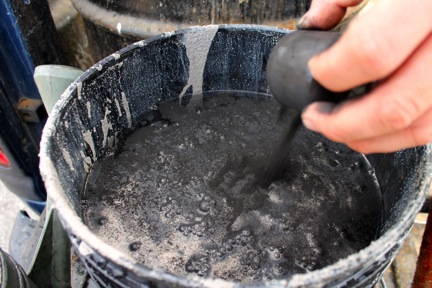
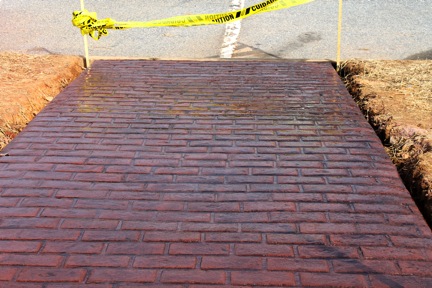
The colored mixture is then placed into a watering can and poured directly onto the stamped concrete surface. This process is called color washing. This will add additional color and it will help to antique the finish.
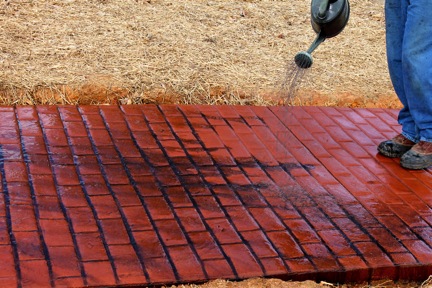
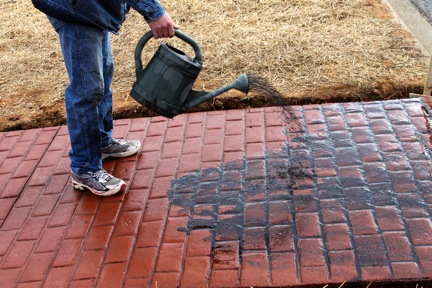
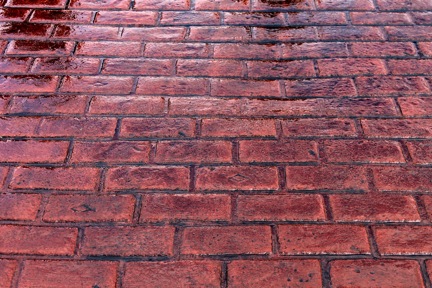
After the color washing is complete the concrete will look like this...
Stamped concrete is never finished until it has been properly sealed. We use an acrylic concrete sealer for all of our decorative concrete installations. The sealer helps protect the concrete as well as adding a “wet” look to the finish.

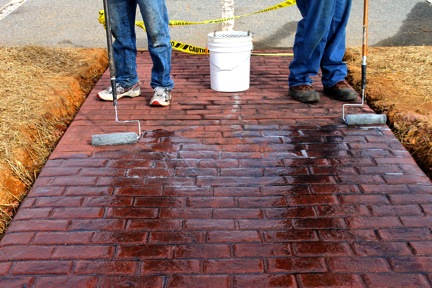
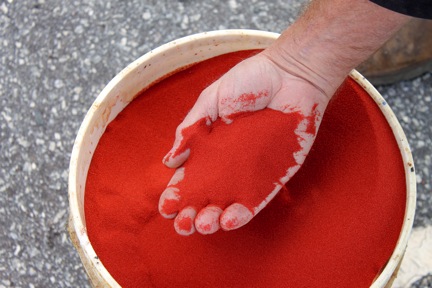
Because this is a commercial installation, we added red quartz sand to the surface. This adds traction and will make the concrete much less slippery. The sand is not visible on the finished product.
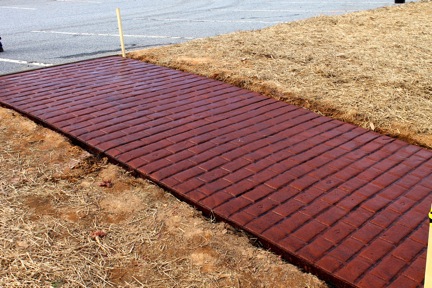
Here is the completed walkway...
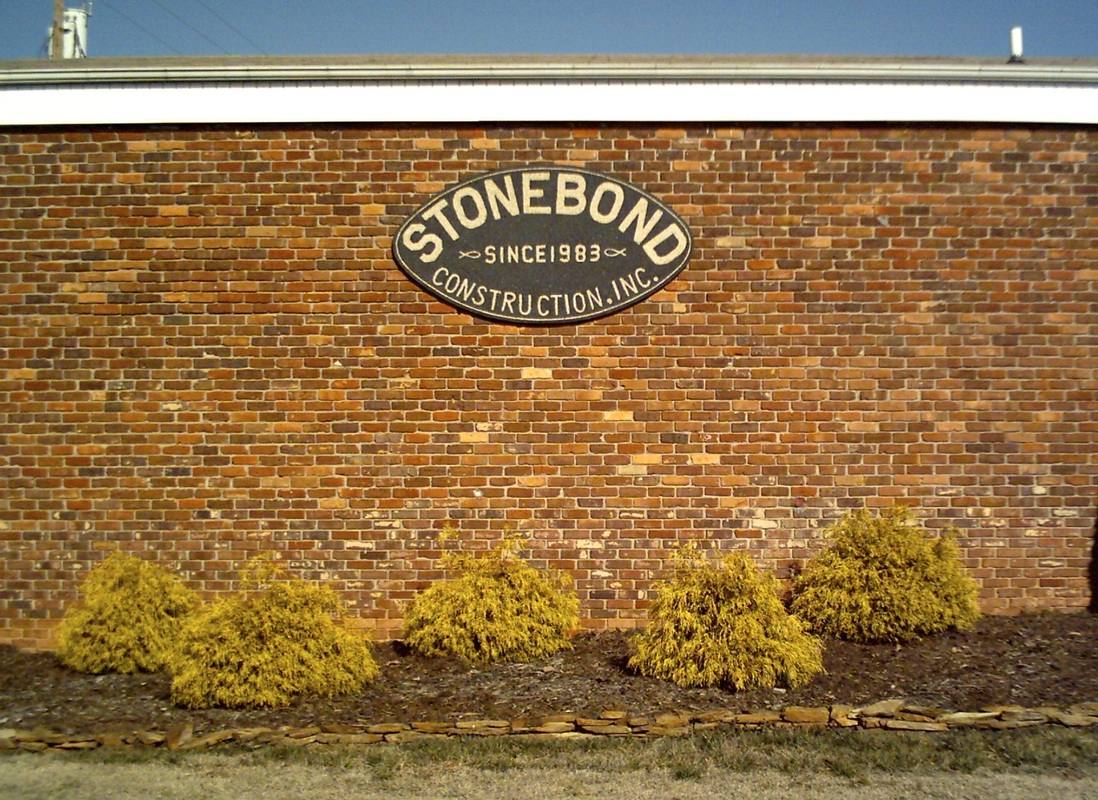
Remember, we have many different style and color options when it comes to stamped concrete designs and decorative concrete. To get a quote on your own decorative concrete project, contact Stone Bond Construction online or call (828) 256-7915.
 RSS Feed